2 Easy Steps to Convert MiniDV to DVD with Useful Tools
Though older camcorders use MiniDV tape for video files, know that it degrades over time. Hence, if you have collections of MiniDV tapes and want to save memories, converting MiniDV to DVD is the ideal way to perform it! With DVDs, you can enjoy watching on a huge TV screen. The whole process may be complex for starters, but with the step-by-step guide from this post, converting MiniDV to DVD will be easy. If ready, proceed to the following parts.
Step 1: Record MiniDV on Windows/Mac
All you must have, besides the supplies needed, is a bit of patience and time before initiating the conversion of MiniDV to DVD. If you think you got them, prepare a MiniDV camcorder, tape, USB cable, and video recording software now. You can consider the following MiniDV camcorders and choose the right one.
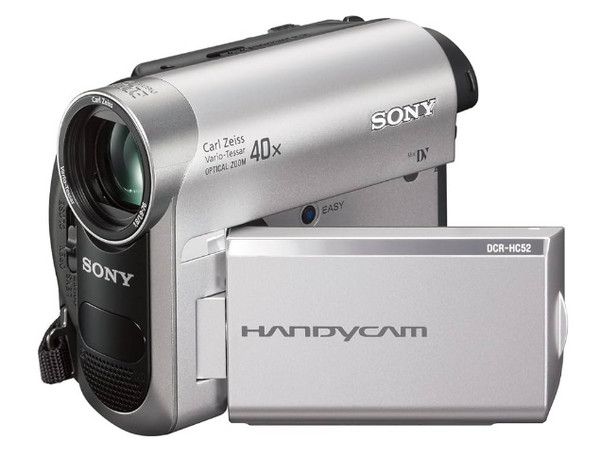
1. Sony DCR-HC52 MiniDV Handycam
This device provides the old standard for recording MiniDV with generous features like a touch panel that can rotate up to 270 degrees. It also has a 40x optical zoom that allows you to bring a subject close with no loss of any details. Furthermore, it gives you an option to keep everything simple using the easy handycam button.
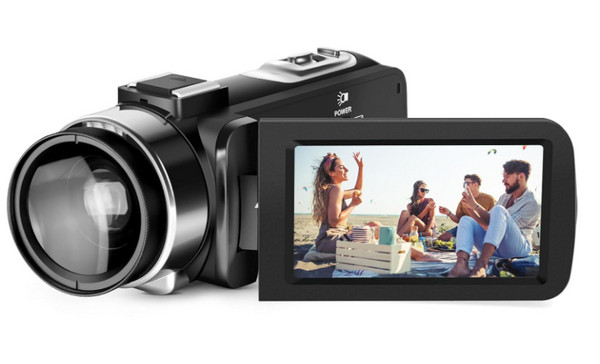
2. Monitech 2K 60FPS Camcorder
Monitect gives the following MiniDV recorder that can help convert to DVD format. It has support for a flip screen that makes it easy to record videos from any angle. What’s more, it has a remote control that adds more convenience. Monitech offers this camcorder as lightweight and compact, unlike any other recorders, making it always on the go.
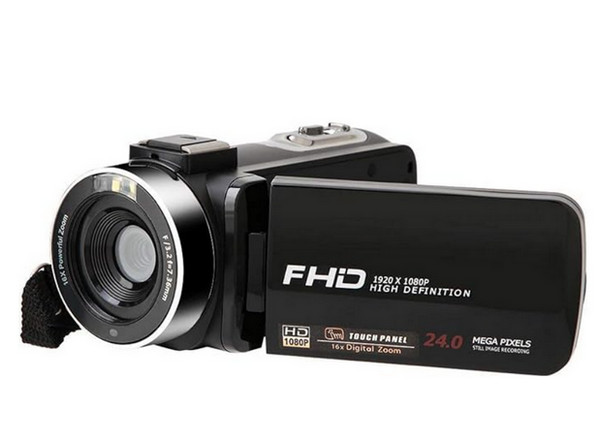
3. Andoer Portable 1080P Camcorder
On the other hand, the Andoer Portable Camcorder covers multiple functionalities, including exposure adjustment, anti-shake, built-in speaker and microphone, and more. It is also lightweight, making it easy to carry around, so you can enjoy recording videos whenever you travel. Furthermore, it supports auto power-off, saves power, and gives it a longer working time.
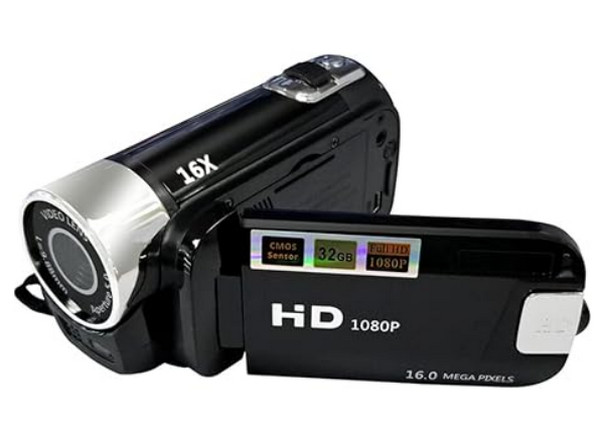
4. Generic Camera Video Camcorder
Another lightweight MiniDV camcorder that is ideal for many outings, gatherings, and family vacations, as you can carry it with you. It comes with a multi-function camera that handles 1080p resolution, 270-degree rotation, 16x zoom, built-in light, beauty function, and more! Also, it takes HD videos automatically after 2 to 10 seconds.
After getting the suitable MiniDV recorder, discover how the recording can be done in the detailed steps to achieve the conversion of MiniDV to DVD successfully:
Step 1.Get the appropriate USB cable to establish a connection between your MiniDV camcorder and your computer. Then, set the camcorder to "VCR mode".
Step 2.Open the MiniDV video on the camcorder. Then, launch the video capture software you choose, like AnyRec Screen Recorder. Make sure to add the videotape in the capture window.
Step 3.Once the video is inside the capture window, click the "Record" button, and the software will start recording it.
Step 2: Burn MiniDV Files to DVD Quickly
Have you completed recording the MiniDV tapes? If so, use AnyRec DVD Creator to burn the files on a DVD to wrap up the MiniDV to DVD conversion process. Everything may be burned on DVDs, folders, and ISO files, including videos, audio files, and pictures, with this wonderful free Windows and Mac program. Moreover, it handles customizing DVD menus by allowing you to modify the button, thumbnail, text fonts, colors, styles, subtitles, and more to suit your preferences. You won't have to worry about the speed, given that this MiniDV to DVD burner maintains the desired high quality while supporting an incredibly quick DVD burning speed.
Burn all recorded MiniDV videos to DVD, such as MP4, AVI, VOB, and more.
Allow you to modify the text styles, fonts, buttons, thumbnails, and others.
Edit your video with the integrated editor to cut, trim, rotate, apply filters, etc.
See a preview of every change you made to your DVD before burning.
100% Secure
100% Secure
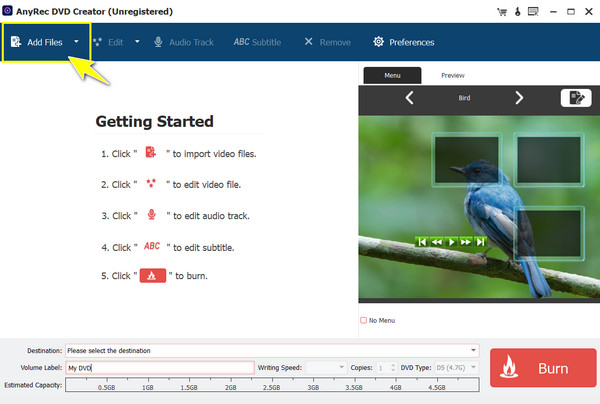
Step 1.After starting AnyRec DVD Creator, click the "Add Files" button on the far-left side to add your MiniDV video; you can also upload an entire folder. Then, put a blank disc into the DVD drive on your computer.
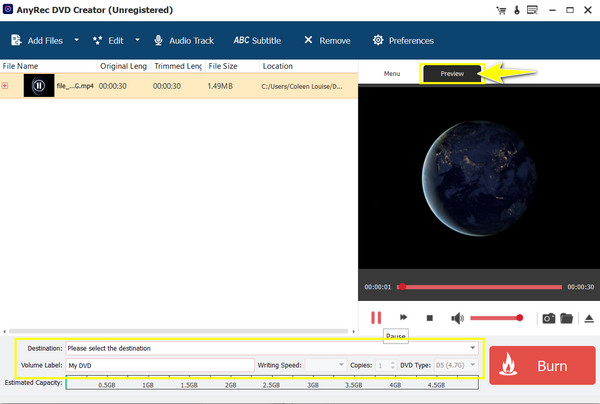
Step 2.In the panel below, you can modify the writing speed, volume label, and desired number of copies. To get a look at the video before burning a Blu-ray or DVD, click the "Preview" button.
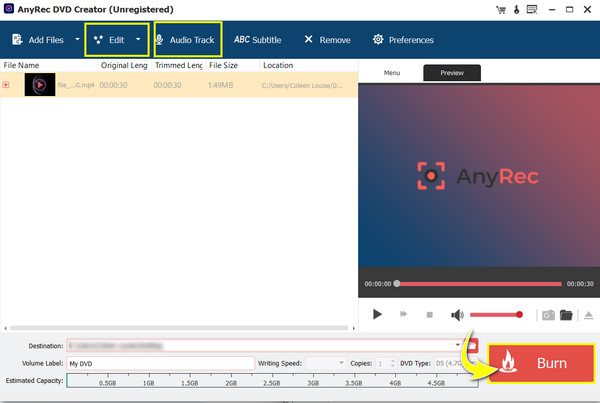
Step 3.If necessary, click the "Edit" button to cut, trim, rotate, and other edits or add new tracks by clicking the "Audio Track" button above. Finally, convert MiniDV to DVD with the "Burn" button.
100% Secure
100% Secure
FAQs
-
What tips can I apply in the MiniDV to DVD conversion process?
First, ensure to use a quality disc to convert the MiniDV videos since that will guarantee the best quality output. Also, check the capacity of your disc prior to converting the MiniDV tape and its compatibility with your DVD player to avoid issues in the future.
-
What is the best format to use when transferring the MiniDV to DVD?
For the best format, the DV-AVI or MPEG-4 can maintain high quality, while the MPEG-2 is the standard for DVDs. You can consider these formats, but all of them are large in file size.
-
Can I convert MiniDV to digital without a camcorder?
Yes. To do so, use a Mini DV tape deck instead; otherwise, use a Mini DV to digital converter. With the help of these means, you can join your Mini DV tape to a computer to transfer the footage and start the conversion process to digital.
-
Where can I play my old MiniDV tapes?
You can watch the MiniDV contents using a camcorder, adapter, or an auto-loading DVD player designed to play DVDs and Mini DVs.
Conclusion
To sum it all up, here you see the detailed guide to achieve the transformation from MiniDV to DVD—an ideal way to preserve those old beautiful MiniDV tapes forever. Starting from preparing all the things you need, like a MiniDV recorder, USB cable, recording software, etc., to finally burning your MiniDV video with AnyRec DVD Creator. This burner can help you burn all kinds of videos to DVD, with high-quality images and sound! Try it today, and you’ll see what this post says.