2024 Tutorial on How to Snip on Mac of Any Screen Quickly
You can easily use the Mac shortcuts like Shift, Command and 3/4/5 to take screenshots with different size. But to get high-quality snapshots, you can easily have a try on the professional AnyRec Screen Recorder. It support customized hotkeys to quickly snip on Mac and save them in JPG, PNG, and more formats.
100% Secure
100% Secure
When you want to snip on Mac and save your precious moments, you can simply use the default hotkeys to capture Mac screen. Different buttons provide different ways to capture your screen, including the full-screen or selected regions. This article will tell you all of them in detail. If you want to edit the screenshots further, you can also learn 5 alternative ways with detailed steps to snip on Mac. So, continue reading the article without further ado and start capturing your screen without hassle.
Guide List
The Default Methods to Snip on Mac with the Shortcuts The Best 5 Alternative Screen Captures to Snip on Mac FAQs about How to Snip on MacThe Default Methods to Snip on Mac with the Shortcuts
This part of the page will teach you 4 default methods on how to snip on Mac. Read the steps below and choose the desired way to capture the full-screen, a selected window, or chosen areas.
1. Snip on Mac Using Grab
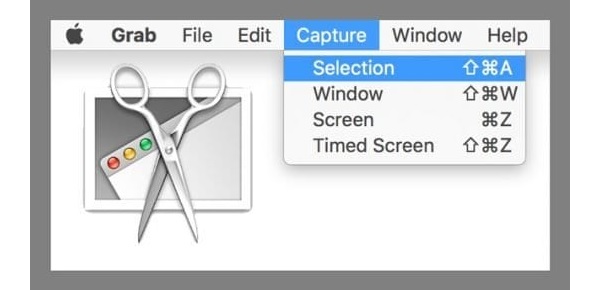
Grab is a preinstalled screenshot tool on Mac operating system. This tool allows you to snap your entire screen, window screen, or any part of the screen. And for you to successfully snip on Mac using Grab, you have to go to the "Spotlight Search" and type "Grab". Then, open the application and click the "Capture" button. From there, you can choose "Selection, Window, Screen, or Timed Screen" depending on what part of the screen you want to snip on Mac.
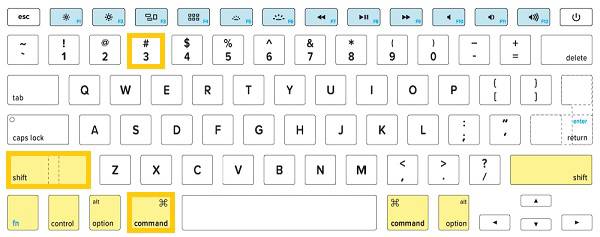
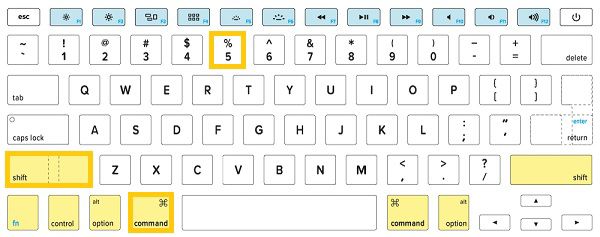
2. Shift + Command + 3
If you want to snip on Mac of entire screen, you can use the key combination of "Shift + Command + 3" on your keyboard. This procedure will allow you to snap your whole screen.
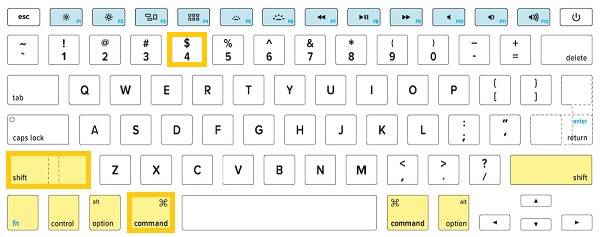
3. Shift + Command + 4
Perhaps you just want to capture a specific area on your screen; you must use the key combination of "Shift + Command + 4" on your keyboard to snip on Mac. This step will let you grab a portion of your screen of Mac.
4. Shift + Command + 5
Lastly, if you want to capture a specific window on your Mac, you can press "Shift + Command + 5" on your keyboard. It will allow you to snip on Mac of the current window you are using.
The Best 5 Alternative Screen Captures to Snip on Mac
In addition to the default methods on how to snip on Mac, you can also consider downloading a screenshot tool on your Mac device to enjoy more features. As you can notice, the default way does not allow you to edit your snaps. But with the help of the following tools below, you can snip on your Mac and edit them right away. So, without further ado, rely on the tools below.
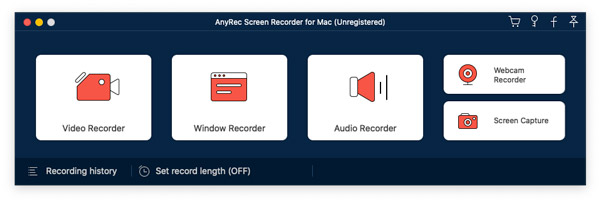
1. AnyRec Screen Recorder
First on the list is AnyRec Screen Recorder, the most recommended snipping tool for Mac. This tool allows you to snip on Mac of the whole screen, window screen, or a specific portion of your screen. Moreover, it has editing features that will enable you to add texts, drawings, shapes, numbers, lines, and arrows to your snaps.
Snip on Mac in full screen, window screen, or part of the screen freely.
Save snaps in different formats, including JPG, BMP, GIF, PNG, and TIFF.
Add drawings, shapes, texts, lines, and more to your captured photos.
Provide customized hotkeys to snip on Mac quickly at any time.
100% Secure
100% Secure
Step 1.To get started, kindly download the AnyRec Screen Recorder on your device. Then, please launch the snipping tool and click the "SnapShot" button to snip on Mac.
Step 2.Next, your mouse will serve as a cursor. Left-click the mouse and freely grab the screen you want to capture, then release it once you are done. In this way, you can easily crop screenshots on Mac.

Step 3.Afterward, you can freely alter the rectangular shape to adjust the captured screen. You can also add lines, shapes, drawings, texts, and arrows to your snaps to emphasize something.
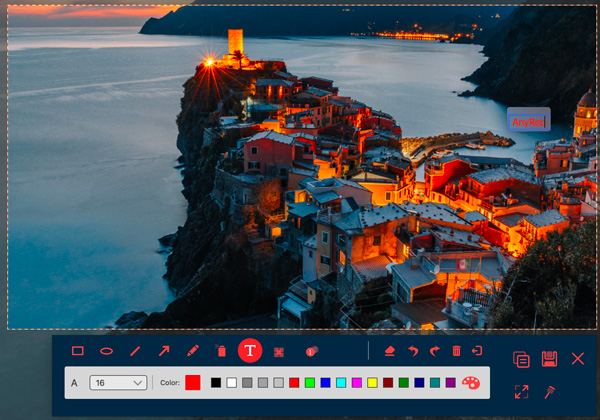
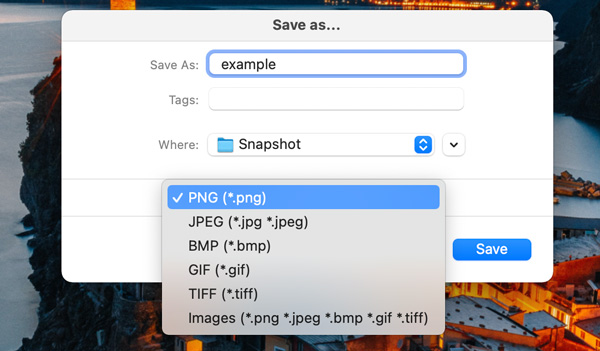
Step 4.Finally, you can now click the "Save" button to choose the desired format and save your snaps successfully on your files. You can also find the screenshots through the "Recording history" menu.
2. Lightshot
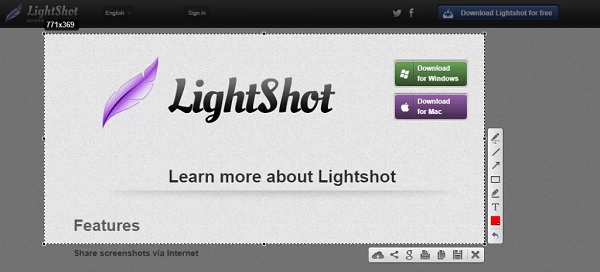
Lightshot is an ideal snipping tool for Mac, for it is easy to use and beginner-friendly. This tool allows you to snip on Mac in a customizable screen area. You can also add shapes, texts, and colors to your snaps.
Step 1.Launch Lightshot on you Mac and press the "Command", "Shift", and "9" buttons to start snipping on Mac.
Step 2.Right-click and drag your mouse to select a region you want to capture. You can also capture the full screen with the "Command" and "A" buttons.
Step 3.Before saving, you can use the toolbox to add annotations to the screenshots. Finally, press the "Command" and "Save" buttons.
- Pros
- It allows you to edit your snaps instantly.
- You can upload your images and get the link immediately.
- Cons
- Capturing the entire screen is not supported.
3. Snagit
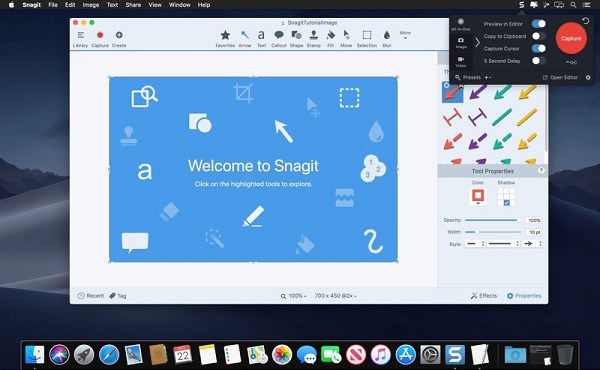
Snagit is a well-known screenshot tool that helps you snip on Mac easily. It has a simple user interface that comes with powerful features. Moreover, it allows you to take a long conversation with the help of its scrolling capture feature.
Step 1.Open Snagit on your Mac and click the "Image" button on the main interface to take a snapshot on Mac. Then you screen will become darker.
Step 2.Just use your mouse to choose the desired area with all information you want to capture. Then, you can use its powerful editing tools to crop, draw, add texts, and more.
Step 3.At last, click the "Save As" button to select a folder to save.
- Pros
- Its scrolling capture feature supports capturing vertically or horizontally.
- You can grab any area of your screen.
- Cons
- This software crashes most of the time.
4. Monosnap
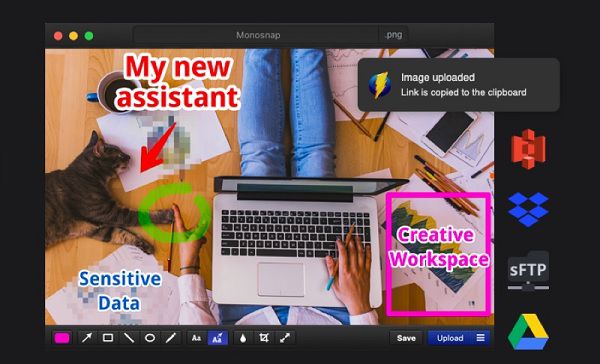
Monosnap is a high-quality tool that allows you to snip on Mac quickly. It also allows you to store images with its 2GB storage space feature. Moreover, you can use the keyboard shortcut to capture your screen in just a few clicks.
Step 1.Launch Monosnap and click it from the top menu. Then, you can choose from "Capture Area", "Capture Fullscreen", and "Capture Previous Area".
Step 2.Hold and drag the right click on your mouse to select the capture area. After that, you can also click the "Spacebar" to move the select region.
Step 3.Now, you can also use the Monosnap Image Editor to add the captured Mac screenshots and do more editings.
- Pros
- Apply blur effects to your snaps and add arrows or shapes.
- Save your images to your local file or cloud storage.
- Cons
- Its user interface is too complex.
5. CloudApp
CloudApp is both a screenshot and screen recorder on Mac. This tool lets you snip on Mac and immediately share it with anyone. Moreover, you can capture your screen in fullscreen, region screen, and app windows using its keyboard shortcuts.
Step 1.Download and open CloudApp software. Click the "Screenshot" button from the bottom list to snip on Mac
Step 2.Follow the intructions and drag your mouse to capture the desired screen. You can do more editings according to your need.
Step 3.The screenshots will be automatically saved to the cloud. You need to go to the official website with the same account to download them.
- Pros
- This snipping tool allows you to blur a confidential part of the captured screen.
- You can add texts, drawings, emojis, and more to your snaps.
- Cons
- There’s no full-screen capture mode. You have to grab the screen manually.
FAQs about How to Snip on Mac
-
Is there a default snipping tool on Mac?
Fortunately, there is a snipping tool on Mac. You can use its preinstalled applications like Grab and Preview. Aside from those tools, you can also make use of its default keyboard shortcuts, such as Shift + Command + 3, Shift + Command + 4, and Shift + Command + 5 to snip on Mac.
-
When you snip on Mac, where do snaps go?
Your screenshots were being saved to your Desktop by default. And if you want to change the file location, you must press the Shift + Command + 5 to open the snipping tool menu on your Mac. Next, go to the Options, then click the Save To button and choose a file location.
-
How to snip on Mac of the selected region?
Through the default snipping tool Grab, you can choose the Selection option to capture the desired area on your Mac. You can also go for some professional snipping tools on Mac, such as AnyRec Screen Recorder.
Conclusion
Great! We hope this post about how to snip on Mac has helped you successfully capture your screen. What are you waiting for? Please share your experience with your friends and help them snip on Mac. We would also love to hear from you. So, do not hesitate to contact us.
100% Secure
100% Secure