Transfer Android File to Mac - 2 Best Free Ways You Must Know
Transferring files from Android to Mac is one of the best methods to free up more space on your Android. But it is not as easy as moving files from Android to Windows. Don’t worry! This article selects two typical ways for you to transfer Android files to Mac, free and wireless. Continue reading to pick the best one according to your preferences!
Guide List
Part 1: How to Transfer Android Files to Mac via Android File Transfer App Part 2: Detailed Steps to Transfer Files from Android to Mac with Google Drive Part 3: Tips: How to Transfer Android Files to PC? AnyRec PhoneMover is the Fix! Part 4: FAQs about Transferring Files from Android to MacPart 1: How to Transfer Android Files to Mac via Android File Transfer App
You can download the Android File Transfer app from the website, which allows you to transfer or view photos, videos, and contacts at any time. This app constantly improves to maintain compatibility with newer Mac versions. Moreover, it also allows you to seamlessly access Android tablets via a Mac. The following are the specific operation steps to transfer Android files to your Mac:
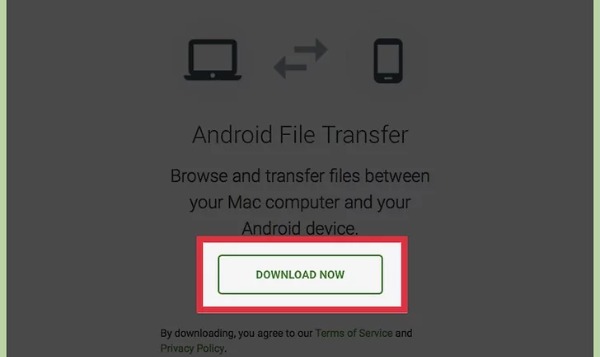
Step 1.The first step is to open your Mac and search for the Android File Transfer app on your browser. At the official website of the Android File Transfer, download this app by clicking the "Download Now" button.
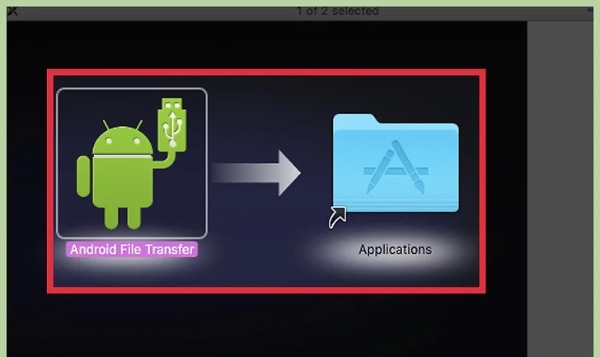
Step 2.Open the "Downloads" list from your browser. Click the "androidfiletransfer.dmg file" to drag the "Android File Transfer" to "Applications"on your Mac.
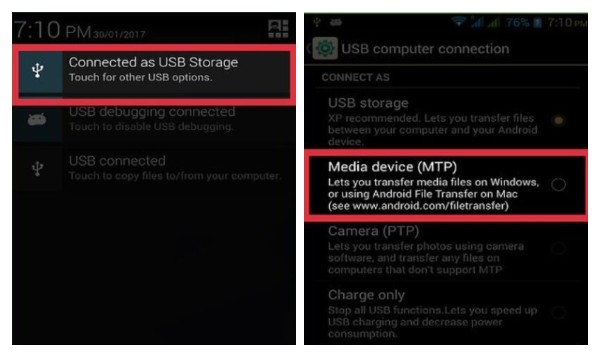
Step 3.Then, you need to connect your Android and Mac with a tight USB cable. Unlock your Android and slide down from the top of the screen to open the message notification page. Tap the "Connected as USB Storage" option and the "Media device(MTP)" option to allow two devices to connect.
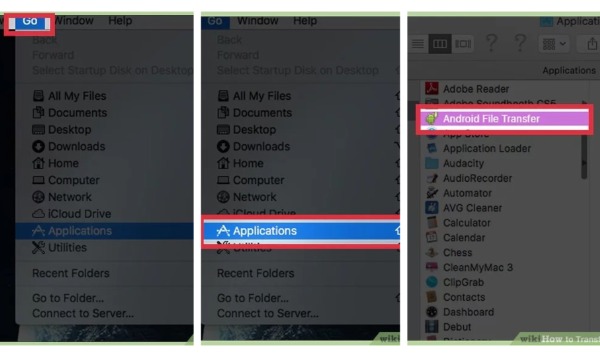
Step 4.Open the Finder on your Mac and click the "Go" button from the toolbar. Choose the "Applications" option from the list. Then you need to double-click the "Android File Transfer" option from the "Applications" menu.
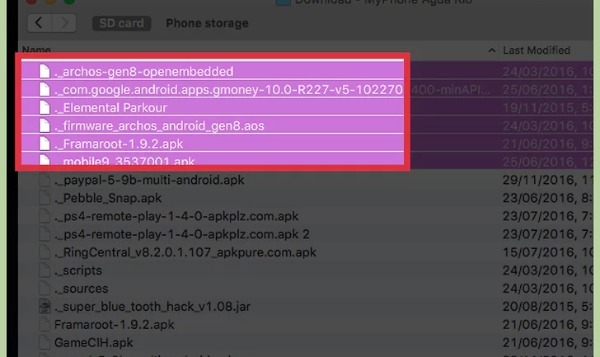
Step 5.Last, you can see all files of your Android. You can choose the file you want to transfer from an Android to a Mac. Create a new folder on your Mac and drag these files into this new folder to move Android files to your Mac.
Part 2: Detailed Steps to Transfer Files from Android to Mac with Google Drive
In addition to transferring files from your Android to your Mac through applications, you can also rely on some cloud storage services, such as Google Drive and Dropbox. You don’t need a USB to connect your Android and Mac to transfer files. Learn how to share Android files to your Mac via Google Drive.
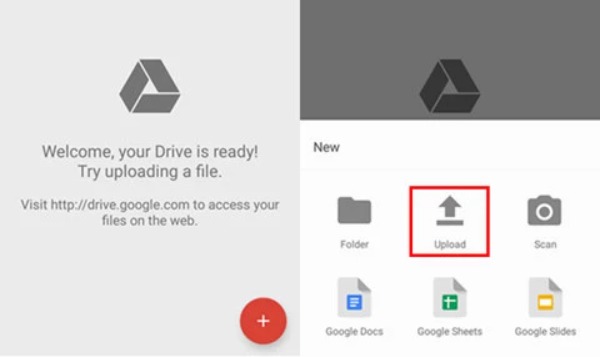
Step 1.log into Google Drive on your Android with the Google account. Then tap the Plus button to choose the "Upload" option to import the files you want to transfer.
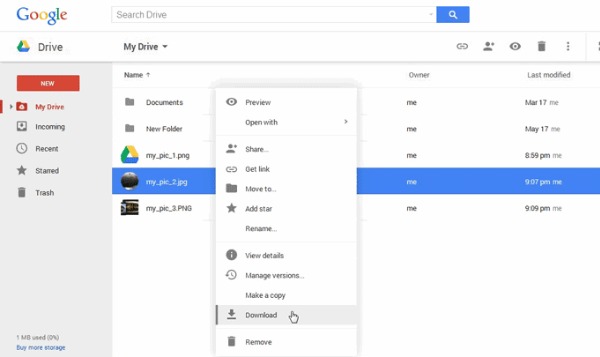
Step 2.After After file upload, you can open Google Drive from the browser on your Mac. Note that you should log in with the same Google account. Then, you can see all files you import from your Android. Choose the files you want to transfer. And right-click anywhere to choose the "Download" option to transfer Android files to your Mac.
Part 3: Tips: How to Transfer Android Files to PC? AnyRec PhoneMover is the Fix!
If you want to transfer all Android files to your PC instead of your Mac, AnyRec PhoneMover is the best option you should not miss. You can use this all-in-one tool to transfer everything from your Android to a PC in a batch, including Music, Contacts, Messages, Videos, and Photos. This software can find and delete duplicate files to free up storage space on your Android. Moreover, you can use it to act as the phone manager. More amazing functions can be found by yourself after downloading!

Transfer Android files to PC with one click and support batch transition.
Organize your files meticulously, like editing, adding, deleting, and playing.
Back up and restore your files on a PC without iTunes or iCloud.
Support the latest iOS 17 and Android 14.
100% Secure
Step 1.Launch the AnyRec PhoneMover directly when you have downloaded it on your computer. There are two methods to connect your Android and PC. You can use a stable USB cable to build a connection. You can also choose to scan the QR code with the "MobileSync" app, but you must ensure that both devices are connected to the same WiFi.
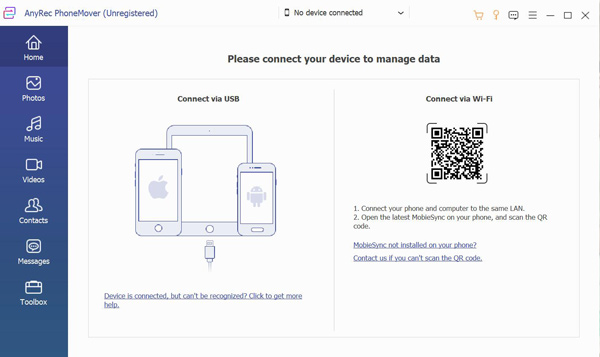
Step 2.Now, you can choose files to transfer from the left side. For example, if you want to transfer photos from your Android to a PC, you can click the "Photos" button. Then you can view all images from your Android. Choose the pictures you want to transfer or check the "Check All" checkbox to select all photos.
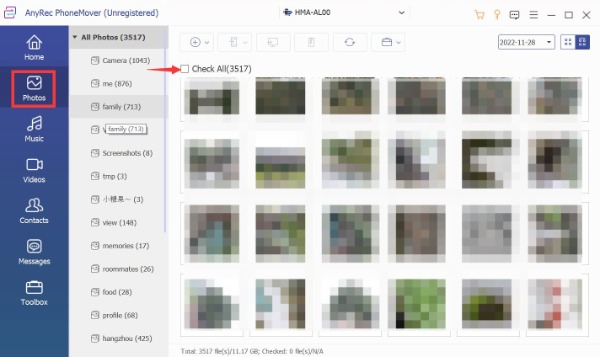
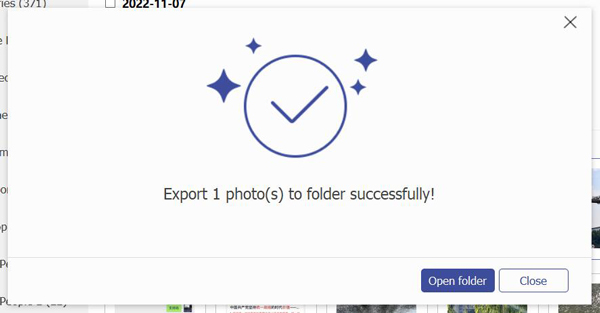
Step 3.The last step is to click the "Export to PC" button. You need to choose a folder to save these images. When you click the folder, it will automatically start transferring files to your computer quickly.
Part 4: FAQs about Transferring Files from Android to Mac
-
1. How long does it take to transfer Android files to Mac?
It depends on the number and size of your files. If the software used is also slow, it will take longer. You can use AnyRec PhoneMover to transfer multiple files quickly.
-
2. What should I do before transferring Android files to a Mac?
You should back up your data before transferring files from your Android to a Mac. Backup is the safest way to prevent data loss during transmission.
-
3. How to transfer files from your Android to a Mac with Email?
Similar to Google, you need to upload files to Email on your Android first. Then you should log in to Email with the same account on your Mac to download files.
Conclusion
Android File Transfer app is the favored method to transfer files from your Android to a Mac. If you are a Google Drive user, you can also use this way to transfer files freely. When you need to move Android files to your PC, AnyRec PhoneMover must be the initial choice! You can not only use it to transfer files but also manage your files!
