How to Record and Share Adobe Connect Meetings for Training
Adobe Connect is the perfect place to showcase your creation through delivering training, meeting, and webinar. Thus, many people want to record Adobe Connect meetings. The Adobe Flash-based software is popular among creators as it features customizable meeting rooms, providing greater quality and performance. While it boosts your creativity, you can also record the meetings with a built-in recorder. Or use the best alternatives recommended by this post. Let’s see how to record Adobe Connect sessions and meetings.
Guide List
Part 1: How to Record Adobe Connect with Built-in Recorder Part 2: How to Record Adobe Connect with AnyRec Part 3: How to Edit and Share Recorded Adobe Connect Part 4: FAQs about Recording Adobe ConnectPart 1: How to Record Adobe Connect with Built-in Recorder
If you are the host of the meeting, then you have the privilege to capture the meeting, like how the participants saw and heard. The recorded videos have assigned URLs, which are on the Recordings page. The recordings can only be played with an internet connection and your permission to view them. To start capturing the meeting, see the demonstrations below:
Step 1.Launch the Adobe Connect app on your device and ensure your microphone is working properly. If you have the universal voice audio profile, go to audio settings and select the Join Audio Conference option.
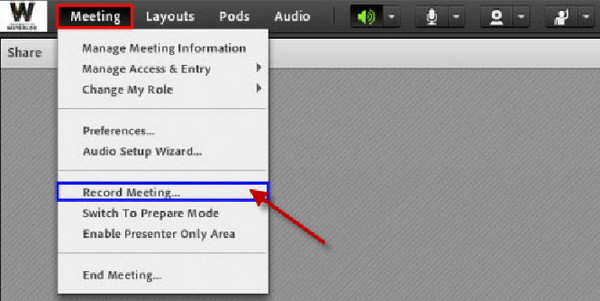
Step 2.Click the "Meeting" button from the upper part of the interface and click the Record Meeting button. You will see a recording icon appear in the menu.
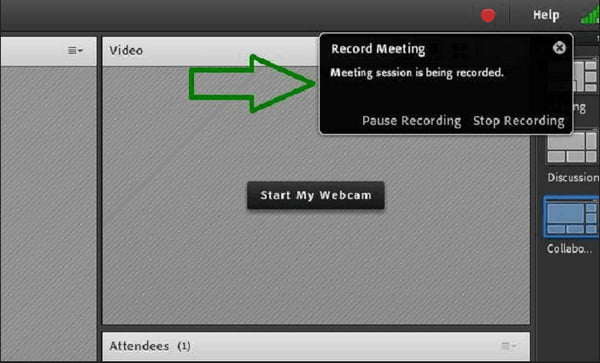
Step 3.Click the "Stop Recording" button from the Meeting menu after the session. The video is automatically saved and is ready for playback at any time.
Part 2: How to Record Adobe Connect with AnyRec
As the best alternative, AnyRec Screen Recorder has a professional recorder for Adobe Connect meetings. This is also a great solution if you are a participant since only the host can use the built-in recorder of the app. You can also annotate your screen with the real-time drawing effects ready on the widget menu. Furthermore, sharing the recorded video is easier as the software supports YouTube, Twitter, Facebook, and other social media apps. AnyRec Screen Recorder is the best solution for Windows and Mac to capture meetings in high quality.
Capture screen activities like gameplay, tutorials, webinars, and meetings.
Record the audio with high quality to ensure the conversation in meetings.
Export video clips as MOV, MP4, and WMV to share and edit them easily.
Have a Mouse recording to capture the meeting moments with your mouse.
100% Secure
100% Secure
Step 1.Download AnyRec Screen Recorder from the official website. Click the "Video Recorder" button from the main interface. You can also use the Webcam Recorder to capture the webcam.
100% Secure
100% Secure

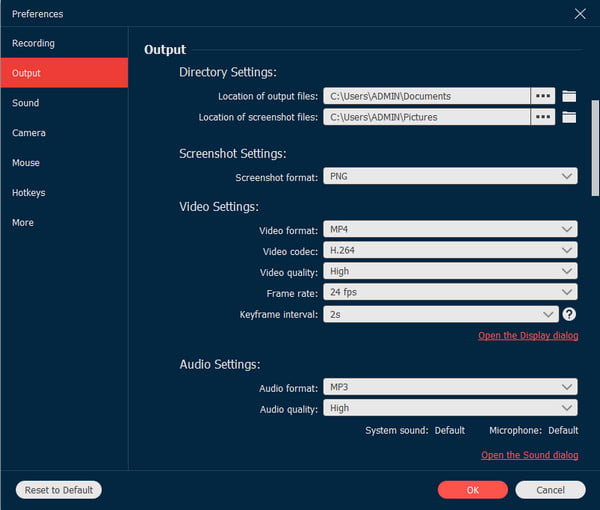
Step 2.Set up the recorder by selecting full screen to record or customize the region you want to capture. And you can also change the output settings and then click the "OK" button.
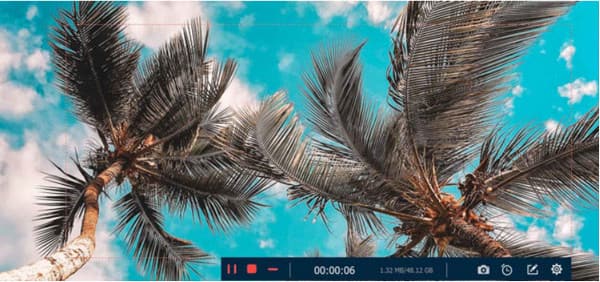
Step 3.Click the "REC" button to start recording Adobe Connect. Use the widget menu to control the recording by pausing or stopping it. Take a screenshot by clicking the Screenshot button.
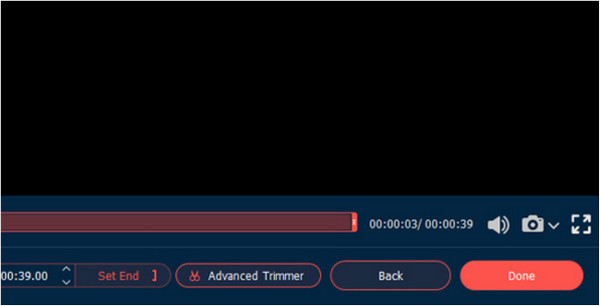
Step 4.After recording, trim the video and preview it. Click the Done button and input needed information like title, genre, and so on. Click the "Complete" button to save the recorded clip.
100% Secure
100% Secure
Part 3: How to Edit and Share Recorded Adobe Connect
If you are not using a meeting recording app, it is time to edit the video on Adobe Connect. Adobe Connect has editing features that you can use after having a meeting. Then, you can share the video without long pauses or unwanted parts.
Step 1.Go to the Adobe Connect Central home page and click the Meetings or Training button. Choose the classroom or meeting that has the recording. Click the Play button and find the parts that need editing.
Step 2.With the Selection Markers, you can select the desired parts and remove them with the Cut feature. Press the "A" button at the left part of the meeting window to reveal the Events Index pane.
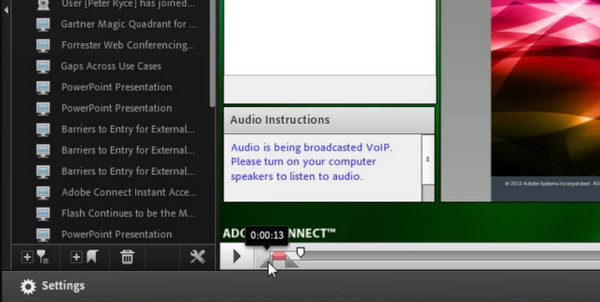
Step 3.Click the Save button after editing the clip. Send the video URL to the participants via an email provider. If you receive the URL, you only have to click on it, and the recording will be played on a browser.
Part 4: FAQs about Recording Adobe Connect
-
1. How to view all recorded clips on Adobe Connect?
To view old and recently recorded videos, select the Meetings tab from the top part of the home page. If there are more than two folders, search for the folder that has the meeting name. Click the recording links from the Meeting Information page to view the video instantly.
-
2. Is it possible to edit the video information from Adobe Connect?
Go to the Adobe Connect Central home page and click the Meeting or Training button. Select the classroom that has the recording. Click the recording’s name to reveal a window. Click the Edit button from the Recording Information menu. Update the items connected to the video by selecting Update Information For Any Items Linked To This Item.
-
3. How to add a bookmark to a recorded video?
While recording, you can add a bookmark to the video. You can see the Add Bookmark from the left pane to do this. Click the button and set the timestamp and name of the bookmark. Click Done after.
Conclusion
Adobe Connect is a versatile video conference tool that allows you to be creative in meetings. While it has a built-in recorder, the host can only conduct a recording, and he can only send the URL after recording. AnyRec Screen Recorder is recommended as a better solution, as it professionally records videos on computer and mobile devices. Anyone can use this AnyRec to record Adobe Connect with video output. The user-friendly screen recorder is available on Windows and Mac for you to try.
100% Secure
100% Secure
